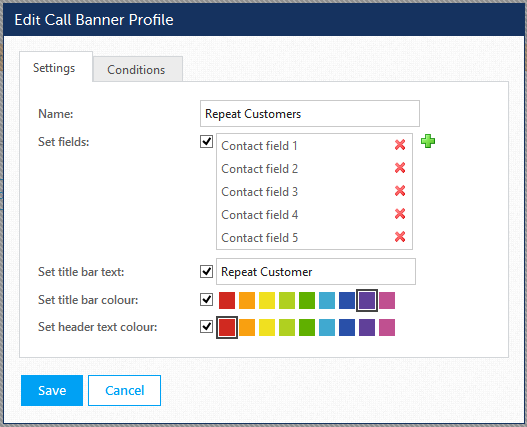
This example shows how to create call banner profiles that will highlight differently when either a repeat customer or a new customer calls in on a specific DID/DID number. This will use check VIP text field of a contact that has been imported into a global directory that is set to "Repeat Customer".
When a repeat customer is matched this banner will be shown. As the customer is already known then their details can be shown on the banner, i.e. their name, address and account balance.
When a new customer is matched, i.e. they don't have the VIP text set then this will be shown. As the customer is new then they only information that is available is their telephone number and location.
To create the configuration start from the Call Banner Profiles section:
'
' -> Features -> Phone Manager Desktop -> Call Banner Profiles section.
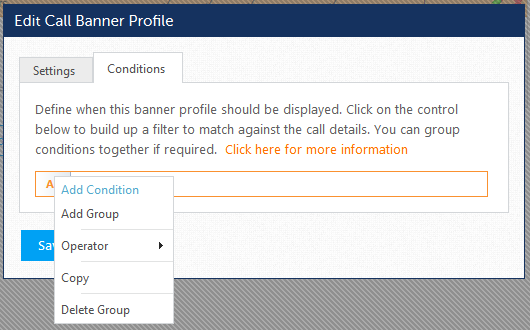
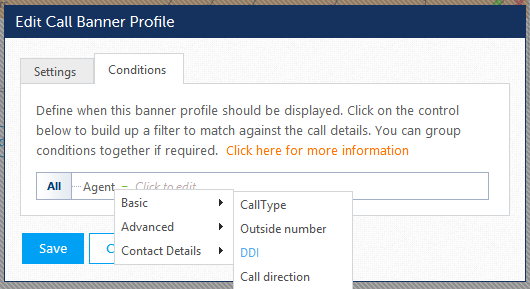
There will need to be two new call banner profiles created, one for the repeat customers and the other for new customers. To create the repeat customer profile:
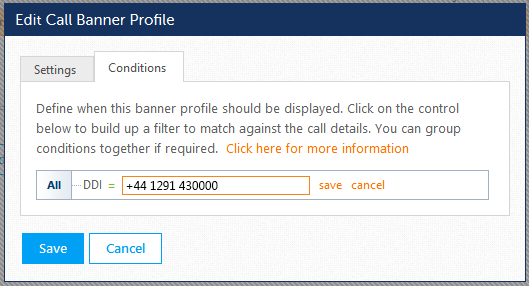
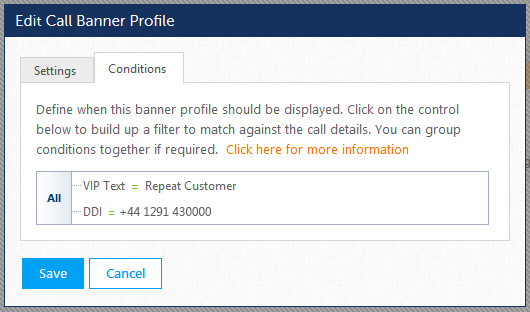
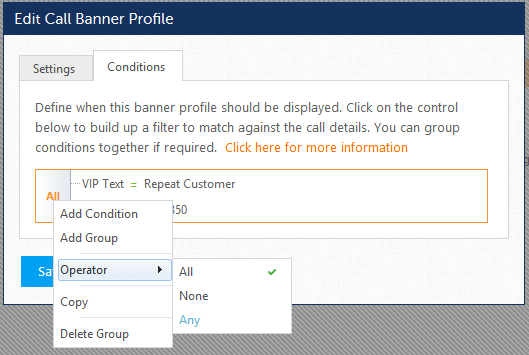
To create the "New Customer" profile follow the same steps as for the "Repeat Customer", except do not add the VIP Text condition.
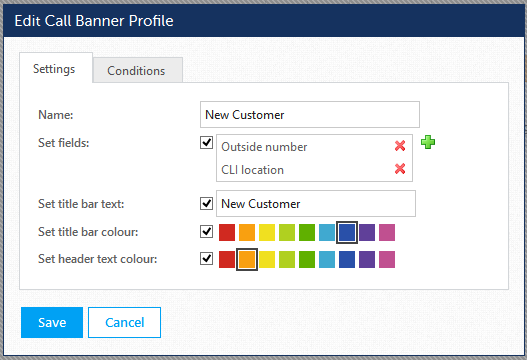
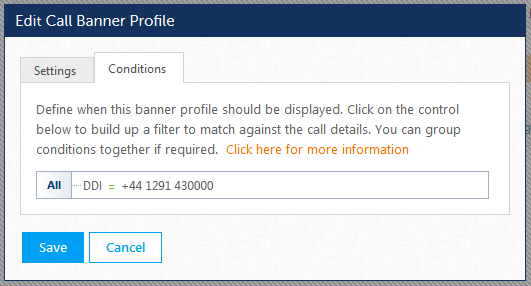
Now we have the banner profiles configured we need to set the Priority of these so that the correct ones are applied. From the Call Banner Profiles section using the mouse drag each line around until they are in this order.
The client banner configuration is now complete. Import some contact records into a Global Directory with the VIP Text set to "Repeat Customer" and make an inbound call to the configured DID/DID number to test.