To improve security it is recommended to switch access to the MiVoice Office Application Suite website from HTTP (default) to HTTPS.
The website is hosted by IIS server which is part of the host operating system. This following steps explain the process involved in enabling HTTPS for the website.
Enabling HTTPS Steps
You can only get a CA certificate for a valid IANA Top level domain. This means you cannot use IP adddress or .lan, .local domain names. If you are currently using IP address for external access for the mobile client then you will need to change to using a valid domain name for which you can get a certificate.
If your internal MCS server name is not the same as you will use to access the server remotely (e.g. your external access will be by mobile.example.com but your server is called server1.example.local) then you will need to add a computer name alias so that the certificate 'common name' or 'alternative name' matches the windows server name or alias.
If you are using a windows domain joined server, creating a computer name alias, is a simple process. You need to run as an elevated Powershell (or command prompt) window on the AppSuite server. Enter the command as below, and you're done.
netdom computername <COMPUTER> /add:<ALIAS>

Example:
netdom computername server1 /add:mobile.example.com
The command will also add a DNS A record appropriately for internal access. External DNS access will need to be setup with your external domain name servers.
More details are available in the Microsoft Technet article here:
A CSR (certificate signing request) must be generated on the host server before a certificate can be purchased and installed. For ease of renewal we do this through IIS not MCS.
The method for doing this manually on the server will differ depending on the version of IIS installed. A good reference on how to generate the CSR can be found on the Digicert website: https://www.digicert.com/csr-creation.htm. The process is slightly different for different versions of Windows (as they have different versions of IIS) so scroll down the page to find the instructions for the version if IIS you are using.
You should receive a certificate .cer file at the end of the process.
Once you have a CSR, a certificate must be obtained from your Certificate Authority.
The previous step will provide a csr text file.
This manual does not cover the exact steps you will need to get a certificate from your CA (certificate Authority) as it will vary from CA to CA. You will need to follow the steps from your specific provider on how to use this to order a certificate.
Once a certificate has been purchased/generated, it must be installed on the host server. A good reference on how to install the certificate can be found on the Digicert website: https://www.digicert.com/csr-creation.htm. The process is slightly different for different versions of Windows (as they have different versions of IIS) so scroll down the page to find the instructions for the version of IIS you are using and follow the 'To install your certificate' section.
If when viewing the certificate it does not say at the bottom of the screen 'You have a private key that corresponds to this certificate' then it will NOT work. The most commeon reasn fior this is the CSR creation was not done on the AppSUite server you are trying to install the certificate on. You need to go through the CSR creation process on the server.
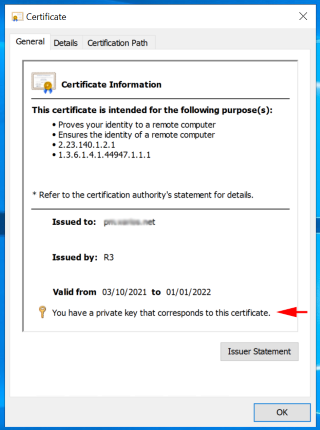
Obtain the new certificate from your CA (certificate authority) .cer file.
Run Certificate Manager certmgr.msc
Select Personal > Certificates from the left hand pane.
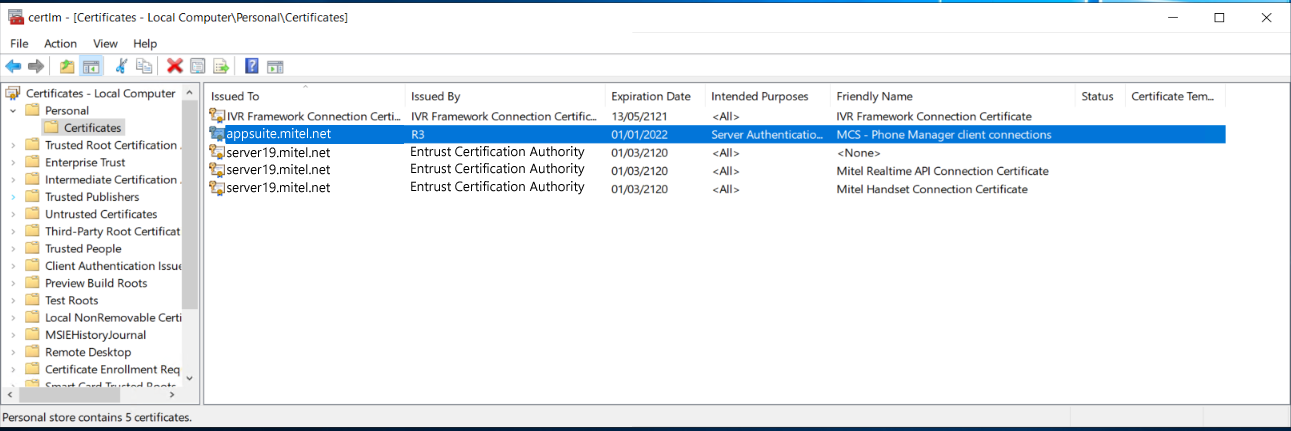
Select the existing certificate, right click choose Properties and delete the friendly name and OK to save.
Right click on Certificates (under Personal) choose All Tasks > Import. Follow the wizard and import the new certificate from your .cer file.
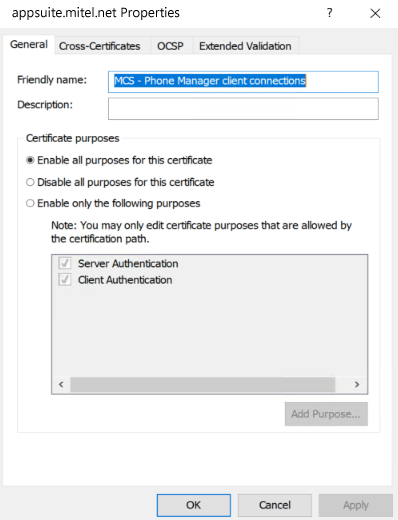
Select the new certificate, right click, choose Properties and change the friendly name to 'MCS - Phone Manager client connections' and OK to save.
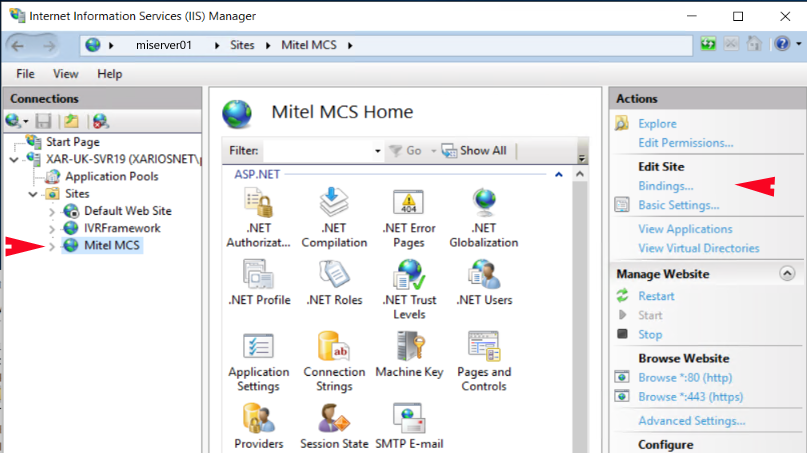
Run Internet Information Services (IIS) Manager (inetmgr.exe)
In connections pane on the left under Sites select Mitel MCS and then Bindings under Edit Site in the right hand pane.
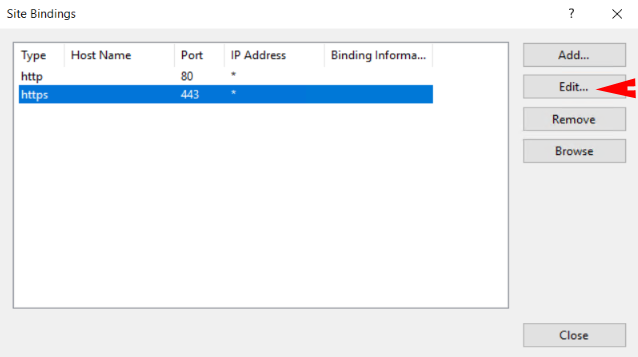
Select https and press Edit button.
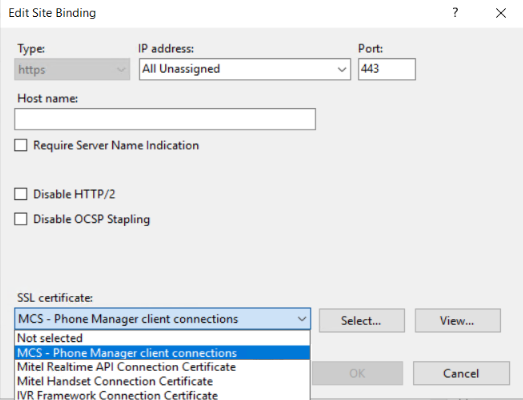
In the SSL certificate dopt down list slect the 'MCS - Phone Manager client connections' and OK to save.
Restart the server.